Summary
- Make a duplicate of the page template "_Template - Donation Landing Page"
- Modify the settings of the duplicated page
- Open the page in Cornerstone and modify the content
- Edit the submit button's link title attribute to dictate the content of the main heading of the custom eCommerce donation form
- Set the fund in the dollar handle script
- Test the page
- Publish
Detail
- Navigate to the Dashboard and then Pages ⇒ All pages.
Hover over the template and select "Duplicate Page". This will create a copy of the template.
Hover over the new template and select edit.
- Change the name of the page to something appropriate and change the status to draft.
Leave the template as is unless you have a good reason to change it. - Click on the "Edit with cornerstone" button - this will open the page in the page-builder. The following should be changed
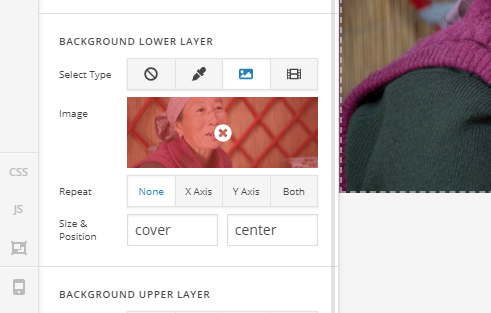
- Banner image: click on the image and remove/replace it using the Image option of the BACKGROUND LOWER LAYER section.
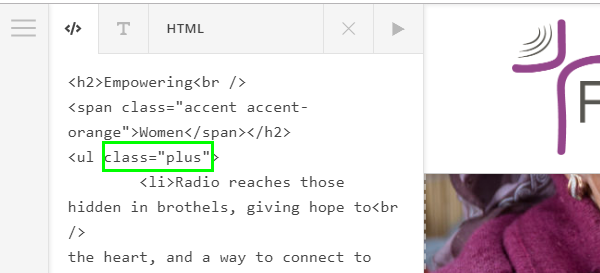
- Banner headline and text: This is a standard "Classic Text" element (click on viewpane to edit). Note: the unordered list element has a class of "plus" to enable the positive-sign bullet points.
- Dollar Handles: The dollar handles are done using a "Classic Feature List" element. Click on the dollar handles in the view-pane and modify in the edit pane. the following can be modied through the user interface.
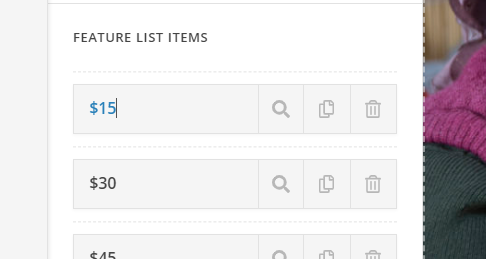
- Amount: The first way to edit the amount is to double click on the "feature list items". When editable the text will change to a blue colour and a cursor will appear. (This is handy for changing the amount quickly)
The second method is to click on the inspect button (the one with the magnifying glass) which will bring up the full array of settings as well as the amount

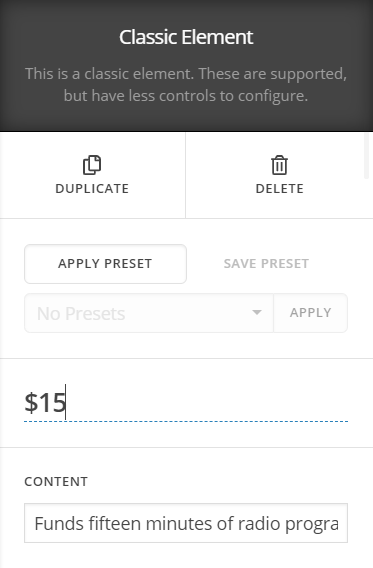
- Content: the text of the feature list item can be changed by typing into the "Content" field (see image above) - this field will accept plain text and simple html (see image below)
- Colours: the colours of the amount text and background colour can be changed in the "Graphic color & background color" section (see image below)
- Link to donation form: the link to the donation form must be set for each dollar handle - this can be modified in the HREF section (see image below). Having a link on each dollar handle was done so that if the user has JavaScript disabled they'll simply be taken to the donation form (without prepopulating the amount)
The link is currenlty set to https://febc.org.au/donation-form/ - do not change unless another custom eCommerce form has been created that you need to link to.
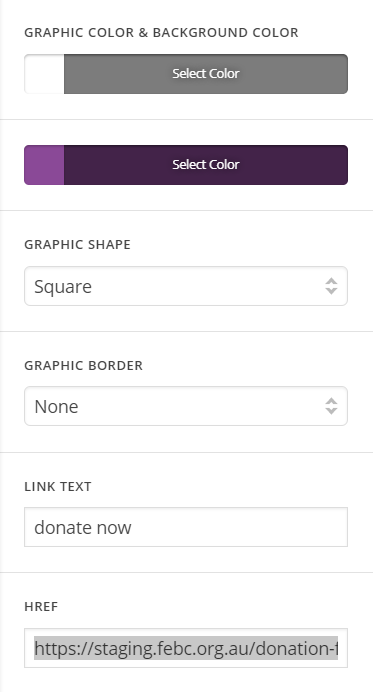
- Leave the following settings blank or "as is": GRAPHIC SHAPE, GRAPHIC BORDER, LINKTEXT
- Amount: The first way to edit the amount is to double click on the "feature list items". When editable the text will change to a blue colour and a cursor will appear. (This is handy for changing the amount quickly)
- Banner image: click on the image and remove/replace it using the Image option of the BACKGROUND LOWER LAYER section.
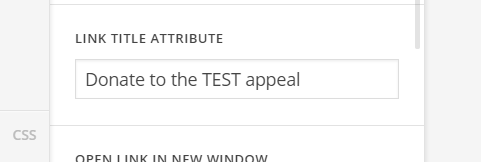
- Edit the submit button's "Link title attribute": Leave everything else alone except for this field. This dictates what the heading of the donation form will say.

- Set the fund
Click on the skeleton mode icon on the left hand side if the Cornerstone interface

Find the Classic Raw Content element that houses the script for the dollar handles
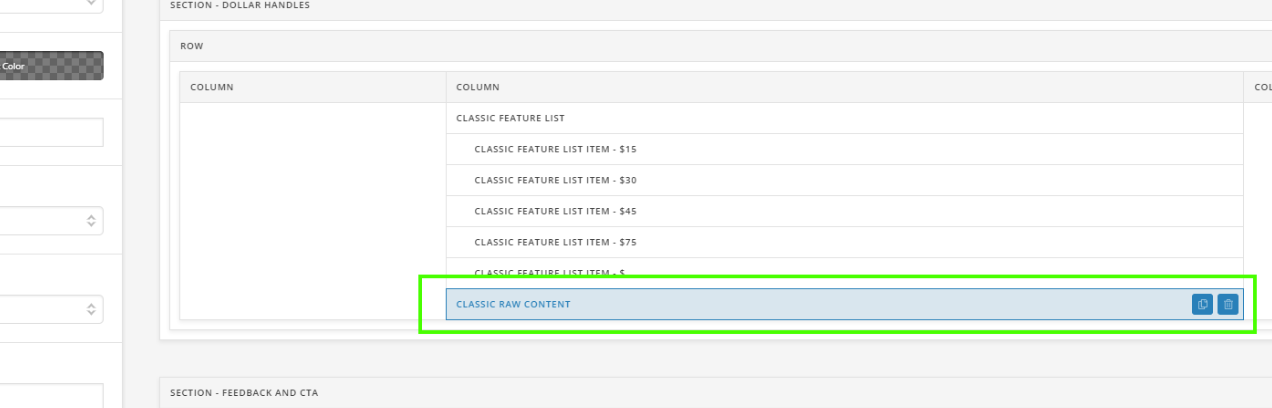
In the script that appears on the LHS of the interface find the variable declaration for "fund"
var fund="GWMN" ;
By default the fund is "GWMN" if you need to change this change the value of the varibable keeping the double quotes intact.
For example:
var fund="In the air";
Make sure it matches youreTapestry fund name exactly!
HINT: copy and paste from eTapestry - Test the page!
- Publish the page: Save. Select exit to dashboard from the hamburger menu at the top left of the Cornerstone user interface and exit to dashboard and select "Publish" in the publish-settings pane.